
My goal in processing the seeds is to remove as much of the extraneous plant material as possible. Then I weigh each kind of seed so I can have some idea of how many seeds I’m planting.
I use two kinds of tools to clean most of the seeds.
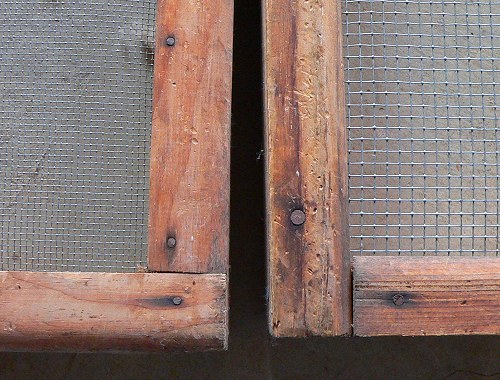
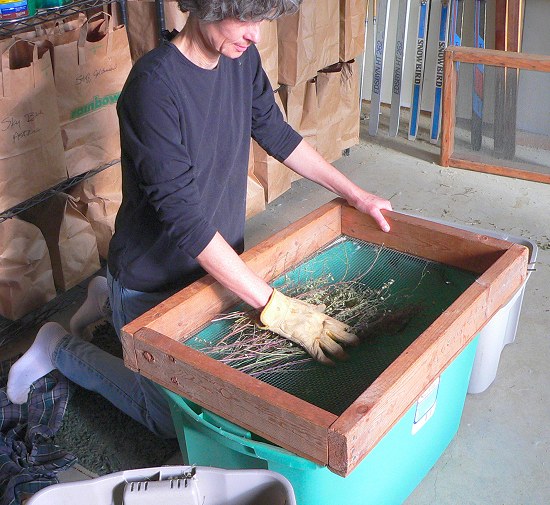
For the first part of the processing I made two screens with different sized holes. The screens are wooden frames with different sizes of hardware cloth stretched across them.
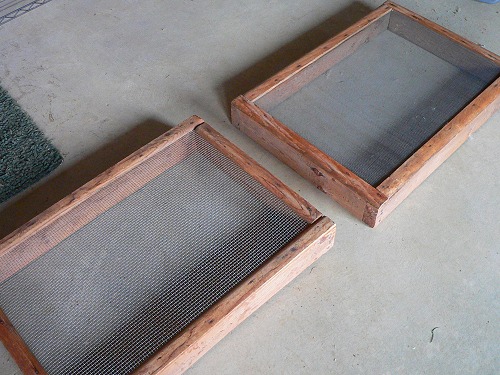
For each kind of seed, I choose the screen that allows the seeds to fall through the holes.
If the seeds are hard or prickly, or don’t separate easily from the rest of the plant, I put the screen on the floor, screen side down, on top of some clean sheets of newspaper. I put a layer of the dried plants on top of the screen, and then I walk across them, stamping and twisting and rubbing with my shoes to break up the plants and force the seeds to separate.
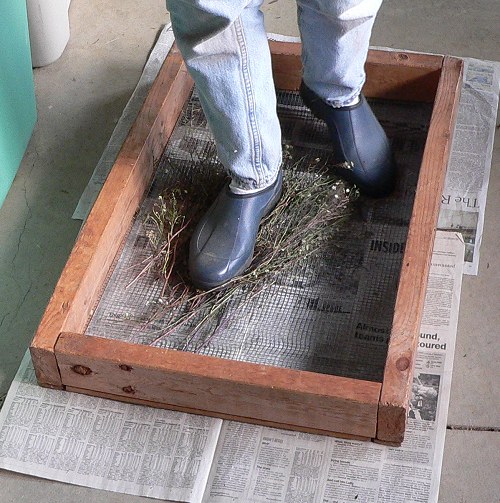
When the material looks broken apart, I lift and shake the screen to let the seeds fall through, and pour the remaining plant material into a plastic bin.
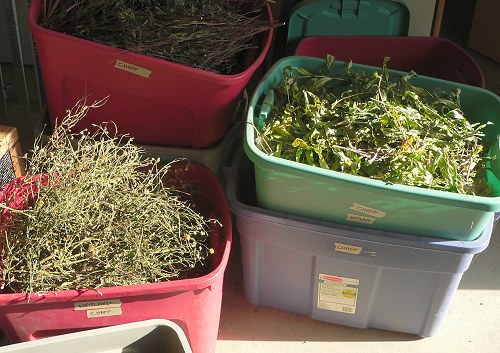
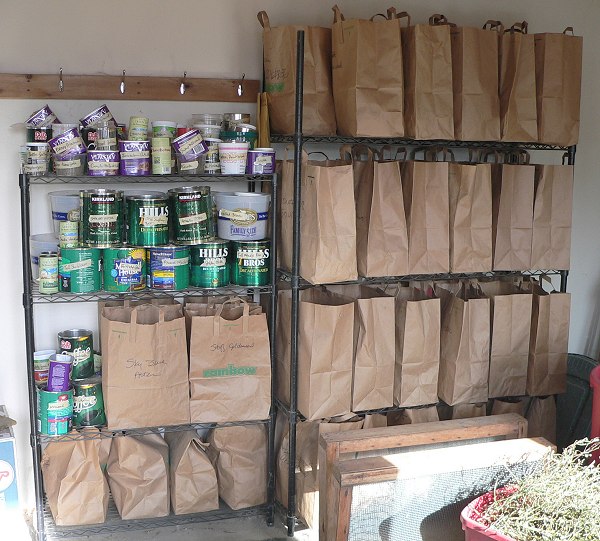
I save all the discarded plant material – chaff – and put it outside where any seeds I miss will be able to grow. These are some bins full of chaff.
If the seeds are softer and separate from the plant material more easily, I put the screen on top of a large plastic bin, kneel beside it, and rub the plant material over the screen so the seeds fall through. (This works for all the asters and many other composites.)
For the second part of the cleaning I use a collection of colanders and strainers with varying sizes of holes for the seeds to fall through.
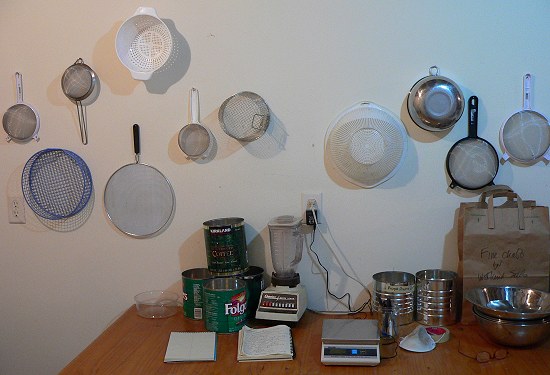
I shake the material that has gone through my screens through these strainers, trying to separate out as much plant material as possible. ( I save this fine chaff to mix with the seeds later to give the mixture more bulk.)
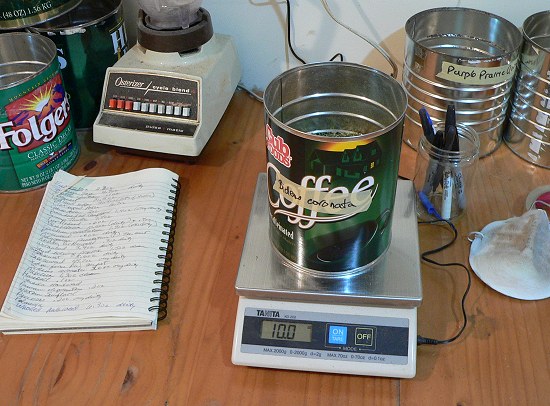
When the seeds are as clean as I can get them, I weigh the seeds and put them in a labeled jar or bag. This is my scale and the notebook where I keep track of all the seeds.
Here are my shelves of dried, labeled seeds. I store the seeds in open containers to be sure they won’t get mouldy.
Sometimes there will be insects crawling around with the seeds. It that seems like a problem, I cover the container tightly and put it in the freezer for a week or two.
There are a few seeds that require special treatment.
Milkweeds:
Most milkweeds are easiest to clean before the silk is completely dry. After harvesting I let the pods dry until a few of them are beginning to open, and the seeds are turning brown. Then I open a pod, and (holding it over a bowl) I grab the still damp silk in one hand, and squeeze and twist the seeds with the other hand. The seeds will separate easily from the silk and fall into the bowl.
The only species of Milkweed that doesn’t work well with this method is Whorled Milkweed. It has very small, slender pods, and seeds that don’t separate from their silk easily. So, after they’re completely dry I rub the pods firmly across one of my screens. The pods and silk stay on top of the screen, and the seeds fall through.
The berries and hips of Wild Roses (Rosa sp.), Horsegentian (Triosteum sp.), and Solomon’s Seal (Polygonatum and Maianthemum sp.) harden as they dry, and the seeds stay inside them. I separate the seeds when they’re still fresh, or soak the dry berries overnight before I start working on them. When the berries are nice and soft, I put them into a blender with an equal amount of water. I blend them at the slowest speed until everything is broken apart. Then I spread out the whole mess on sheets of newspaper and let it dry. When it’s completely dry it’s fairly easy to rub it though a colander or a screen and separate out the seeds.